Category Archives: All

WIFI Control for Cameras – full supported camera list

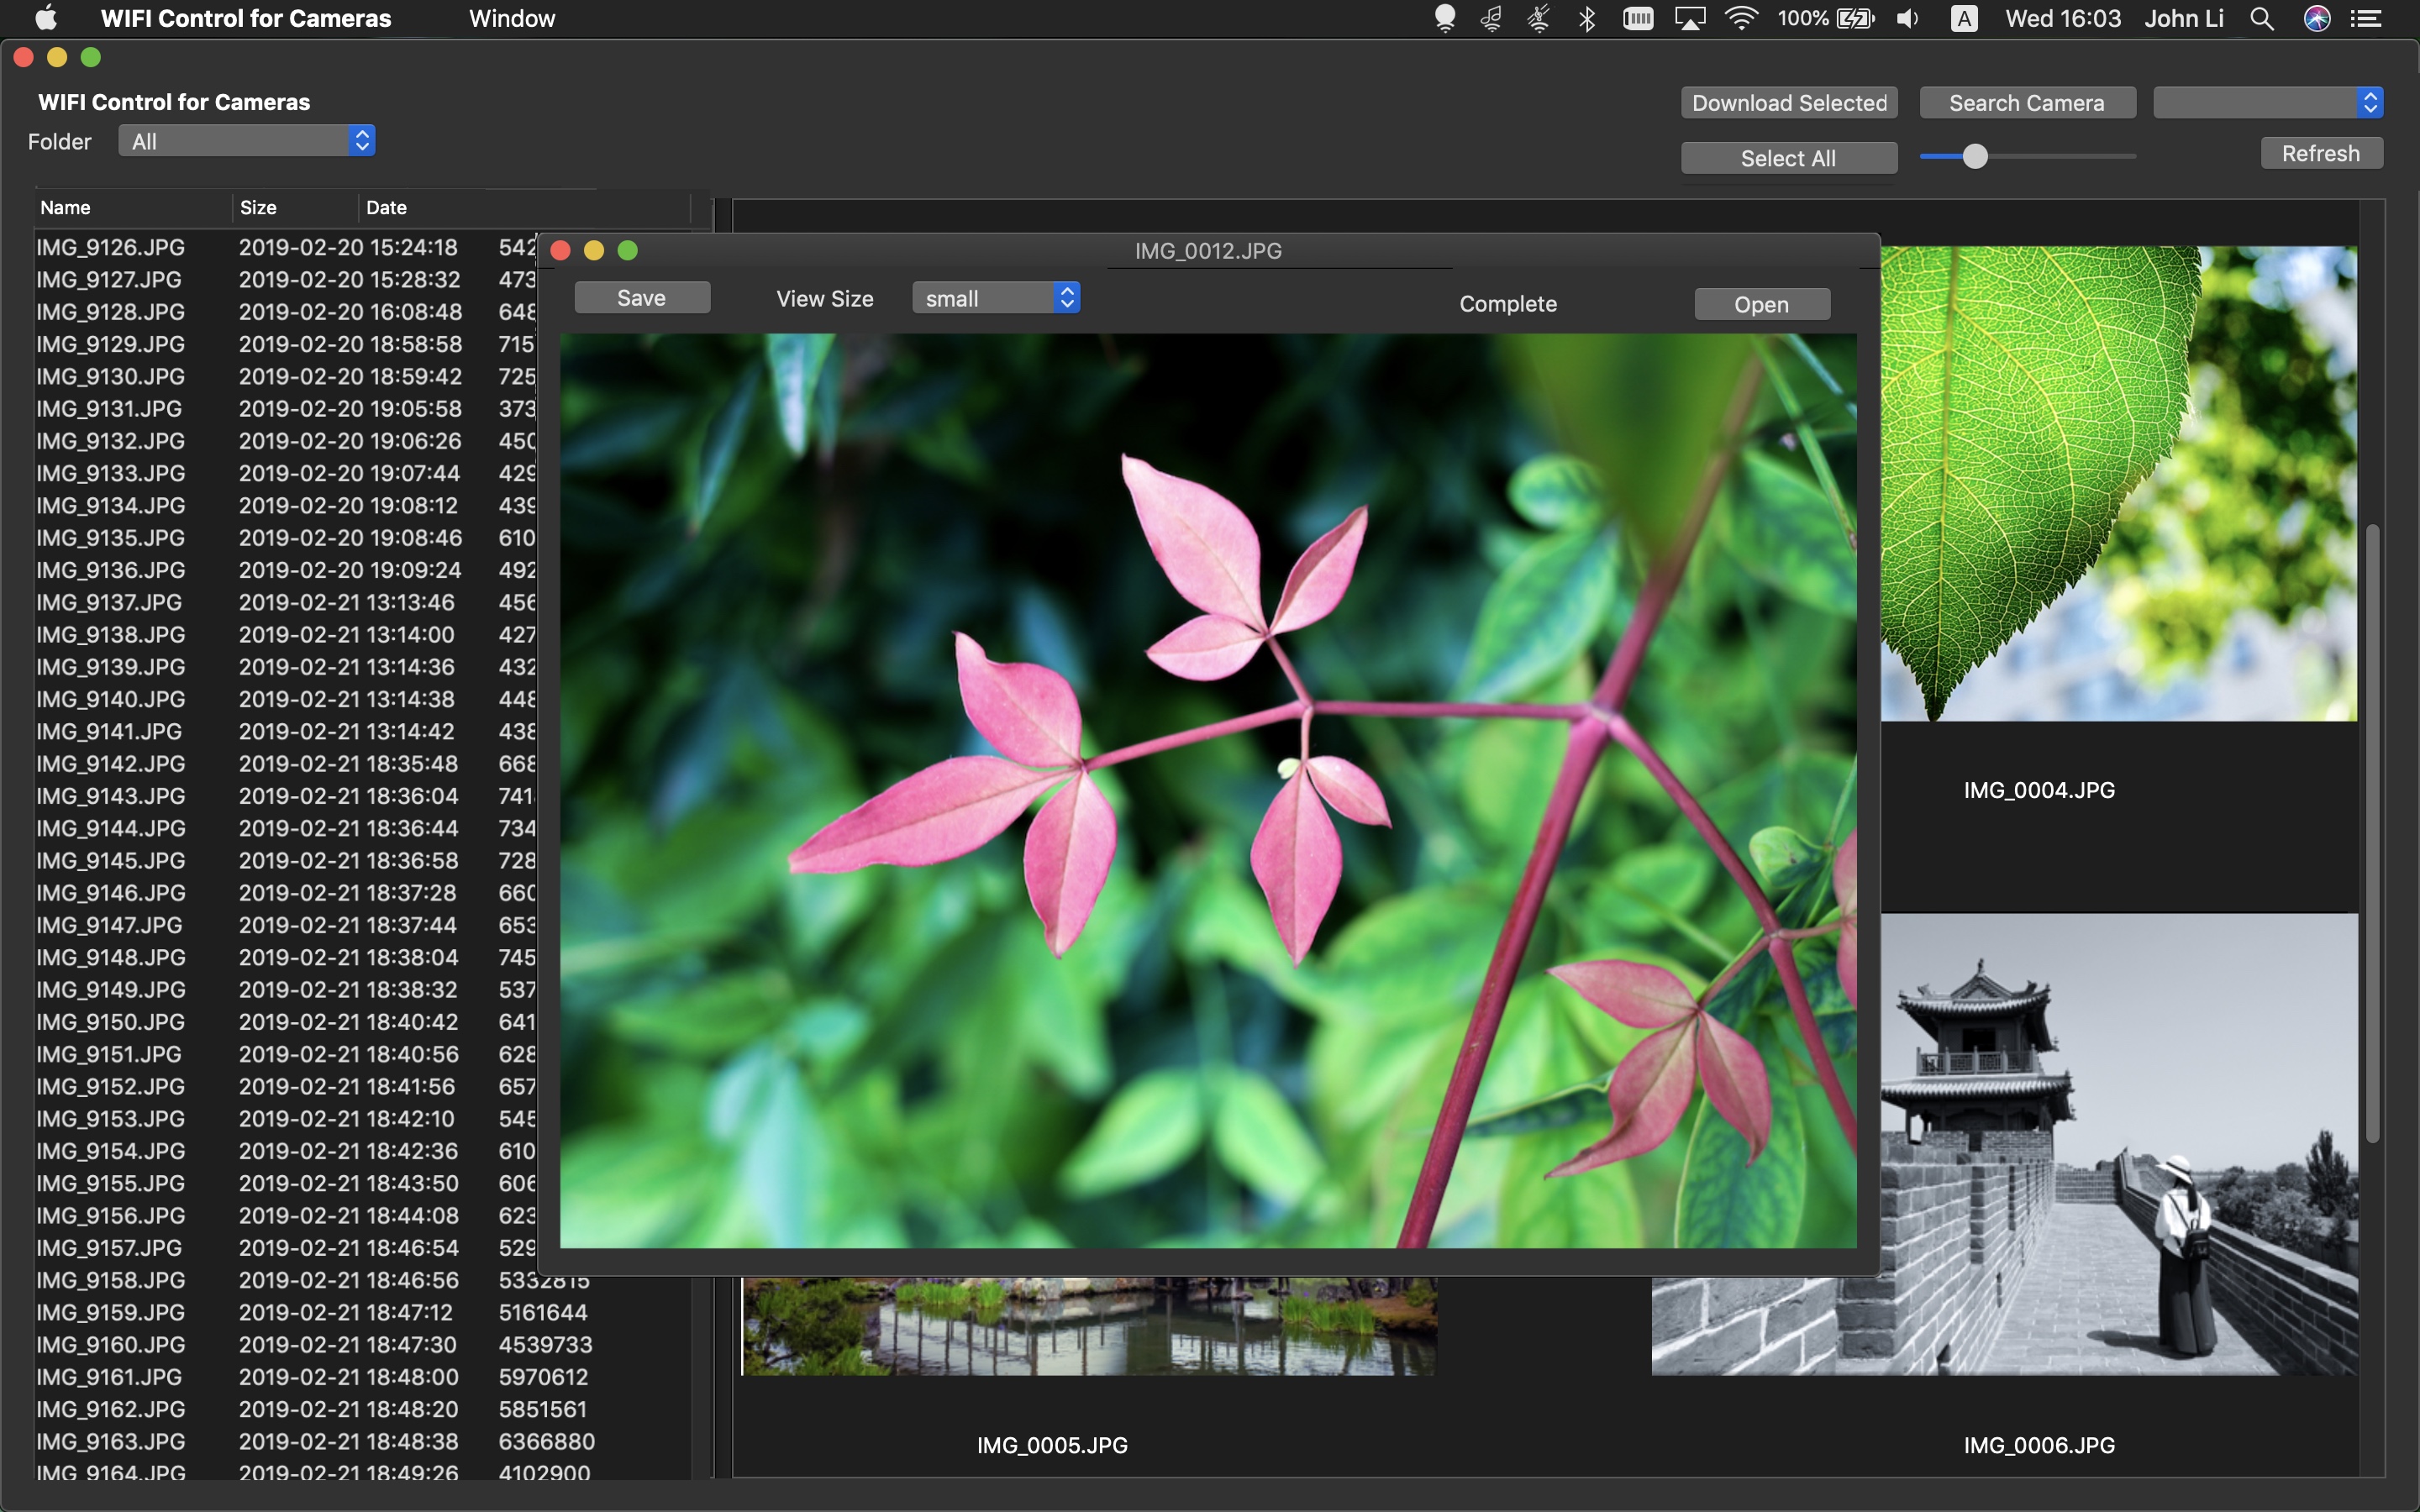
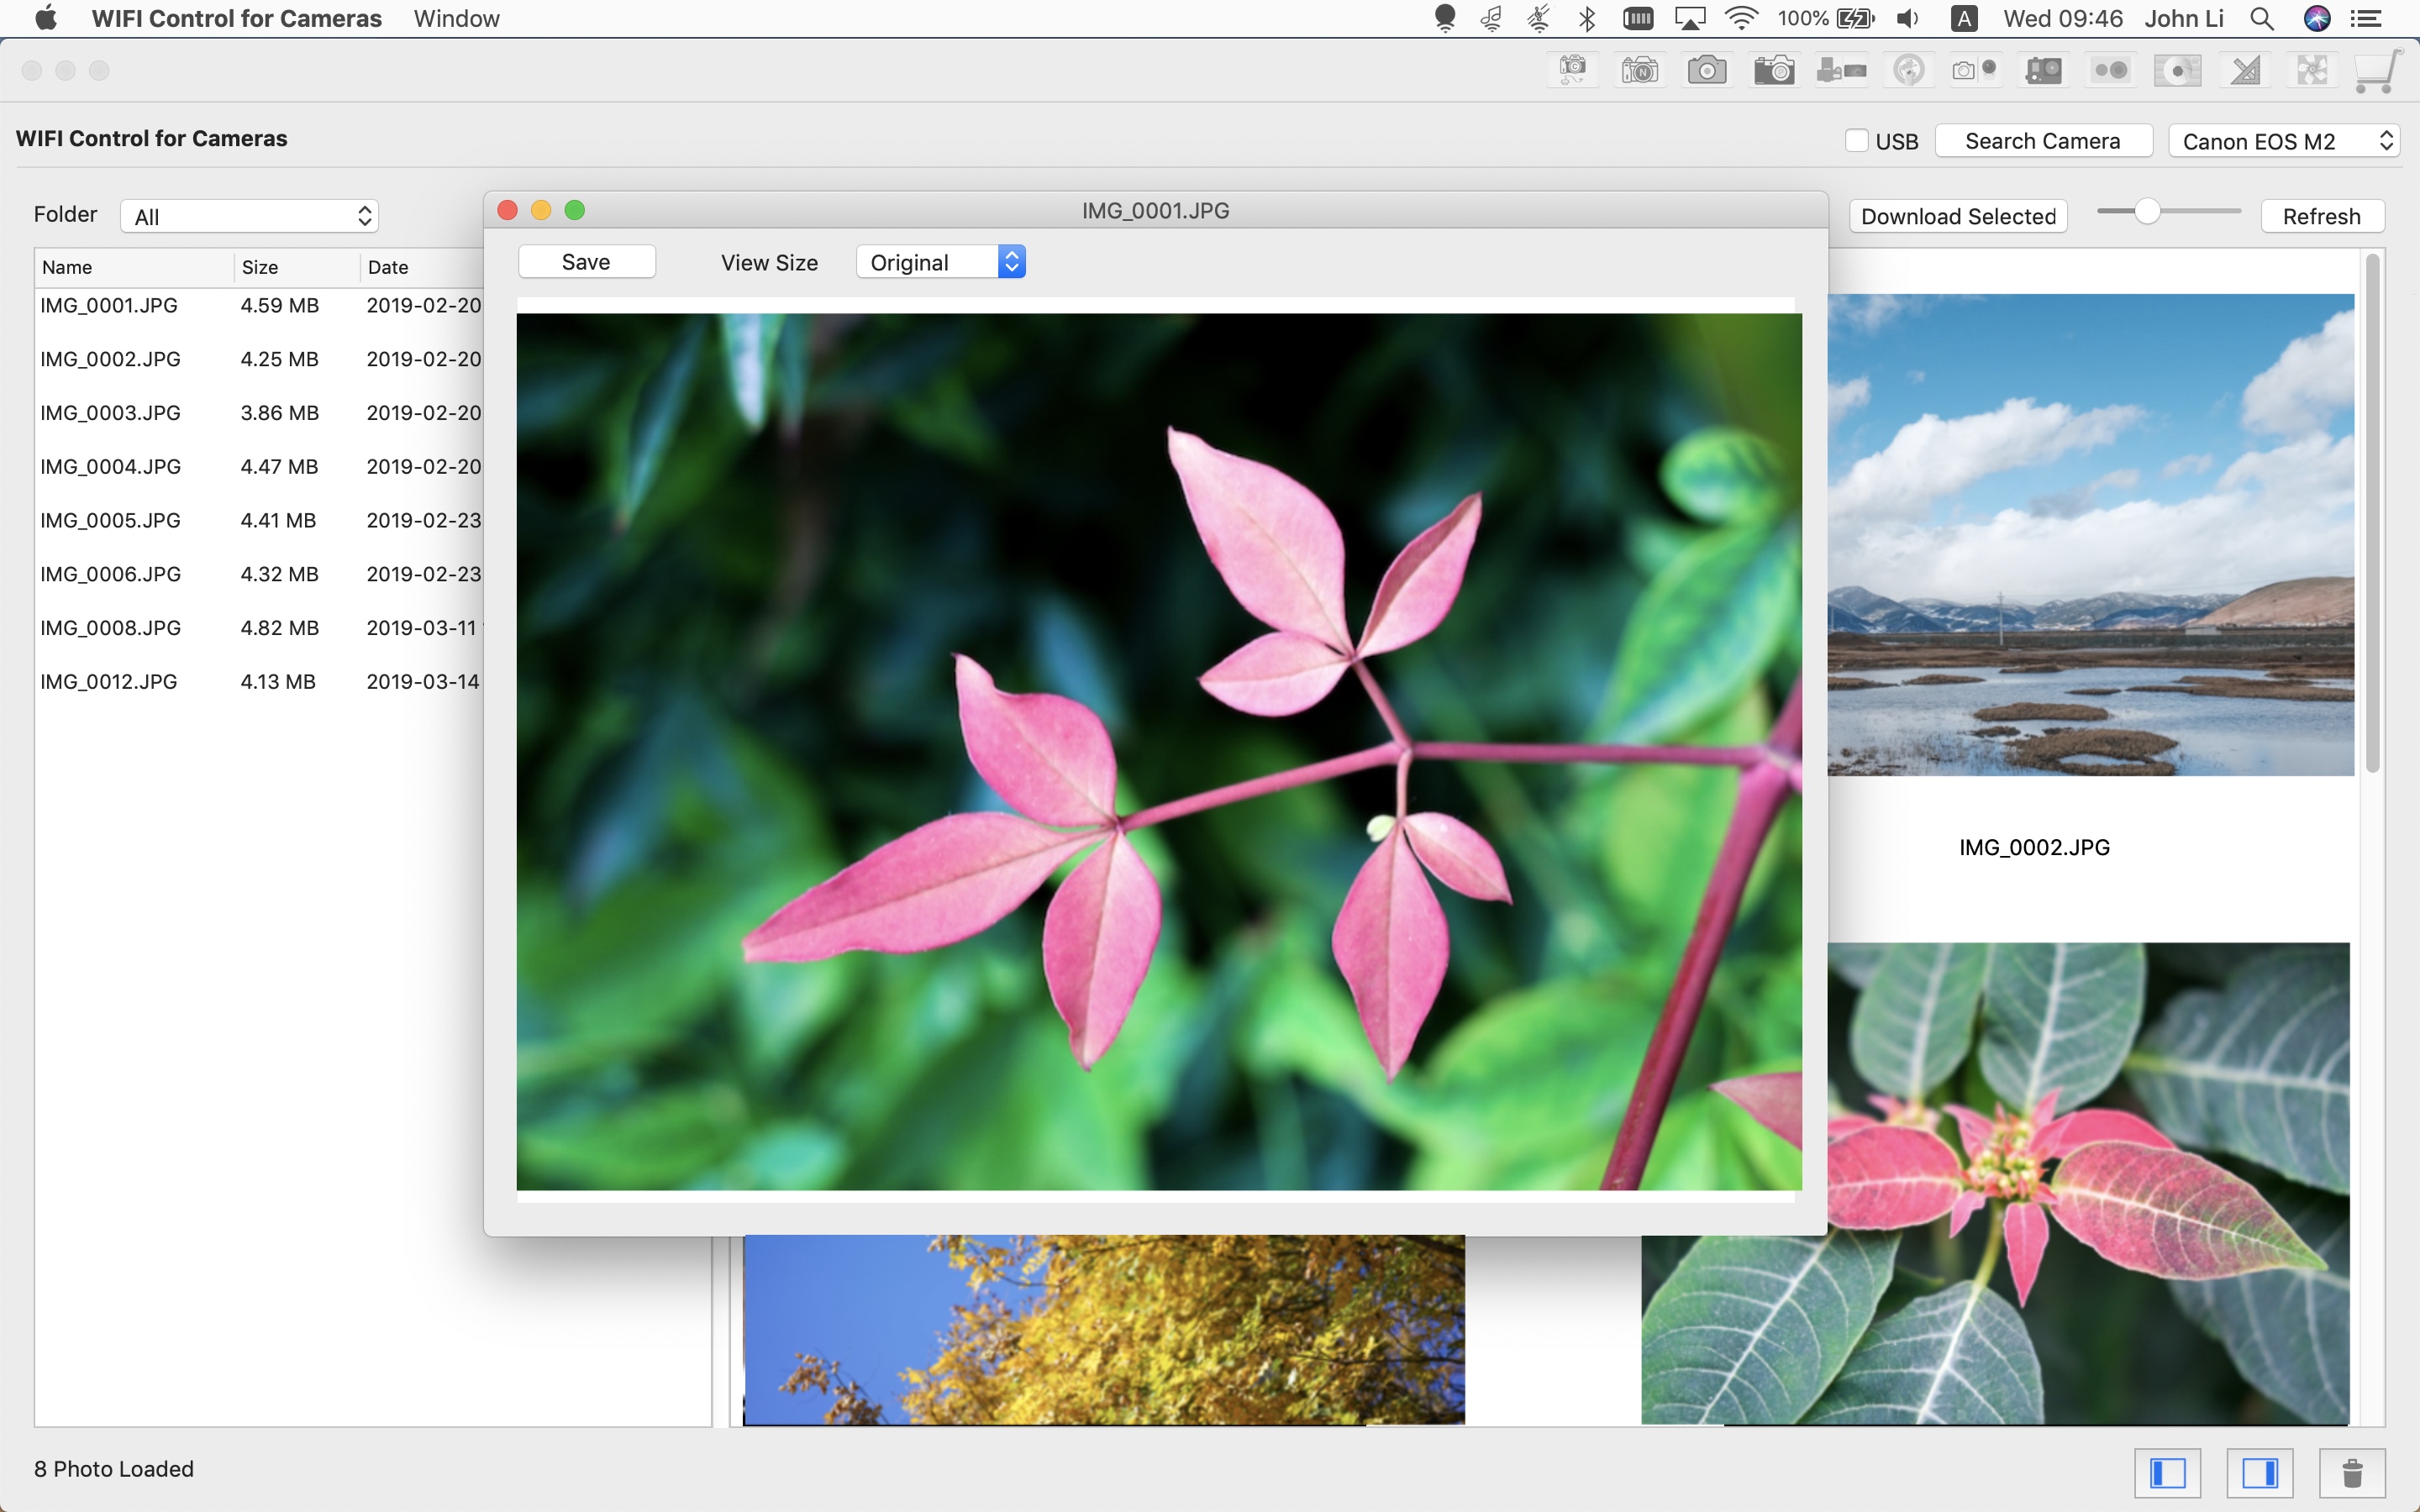
WIFI Control for Cameras available on Mac App Store
Demo video on Youtube:
YouTube Woiapp Channel


Please send us email if you have any questions:
xuecsapp@gmail.com
Support Cameras and connection method:
Canon:
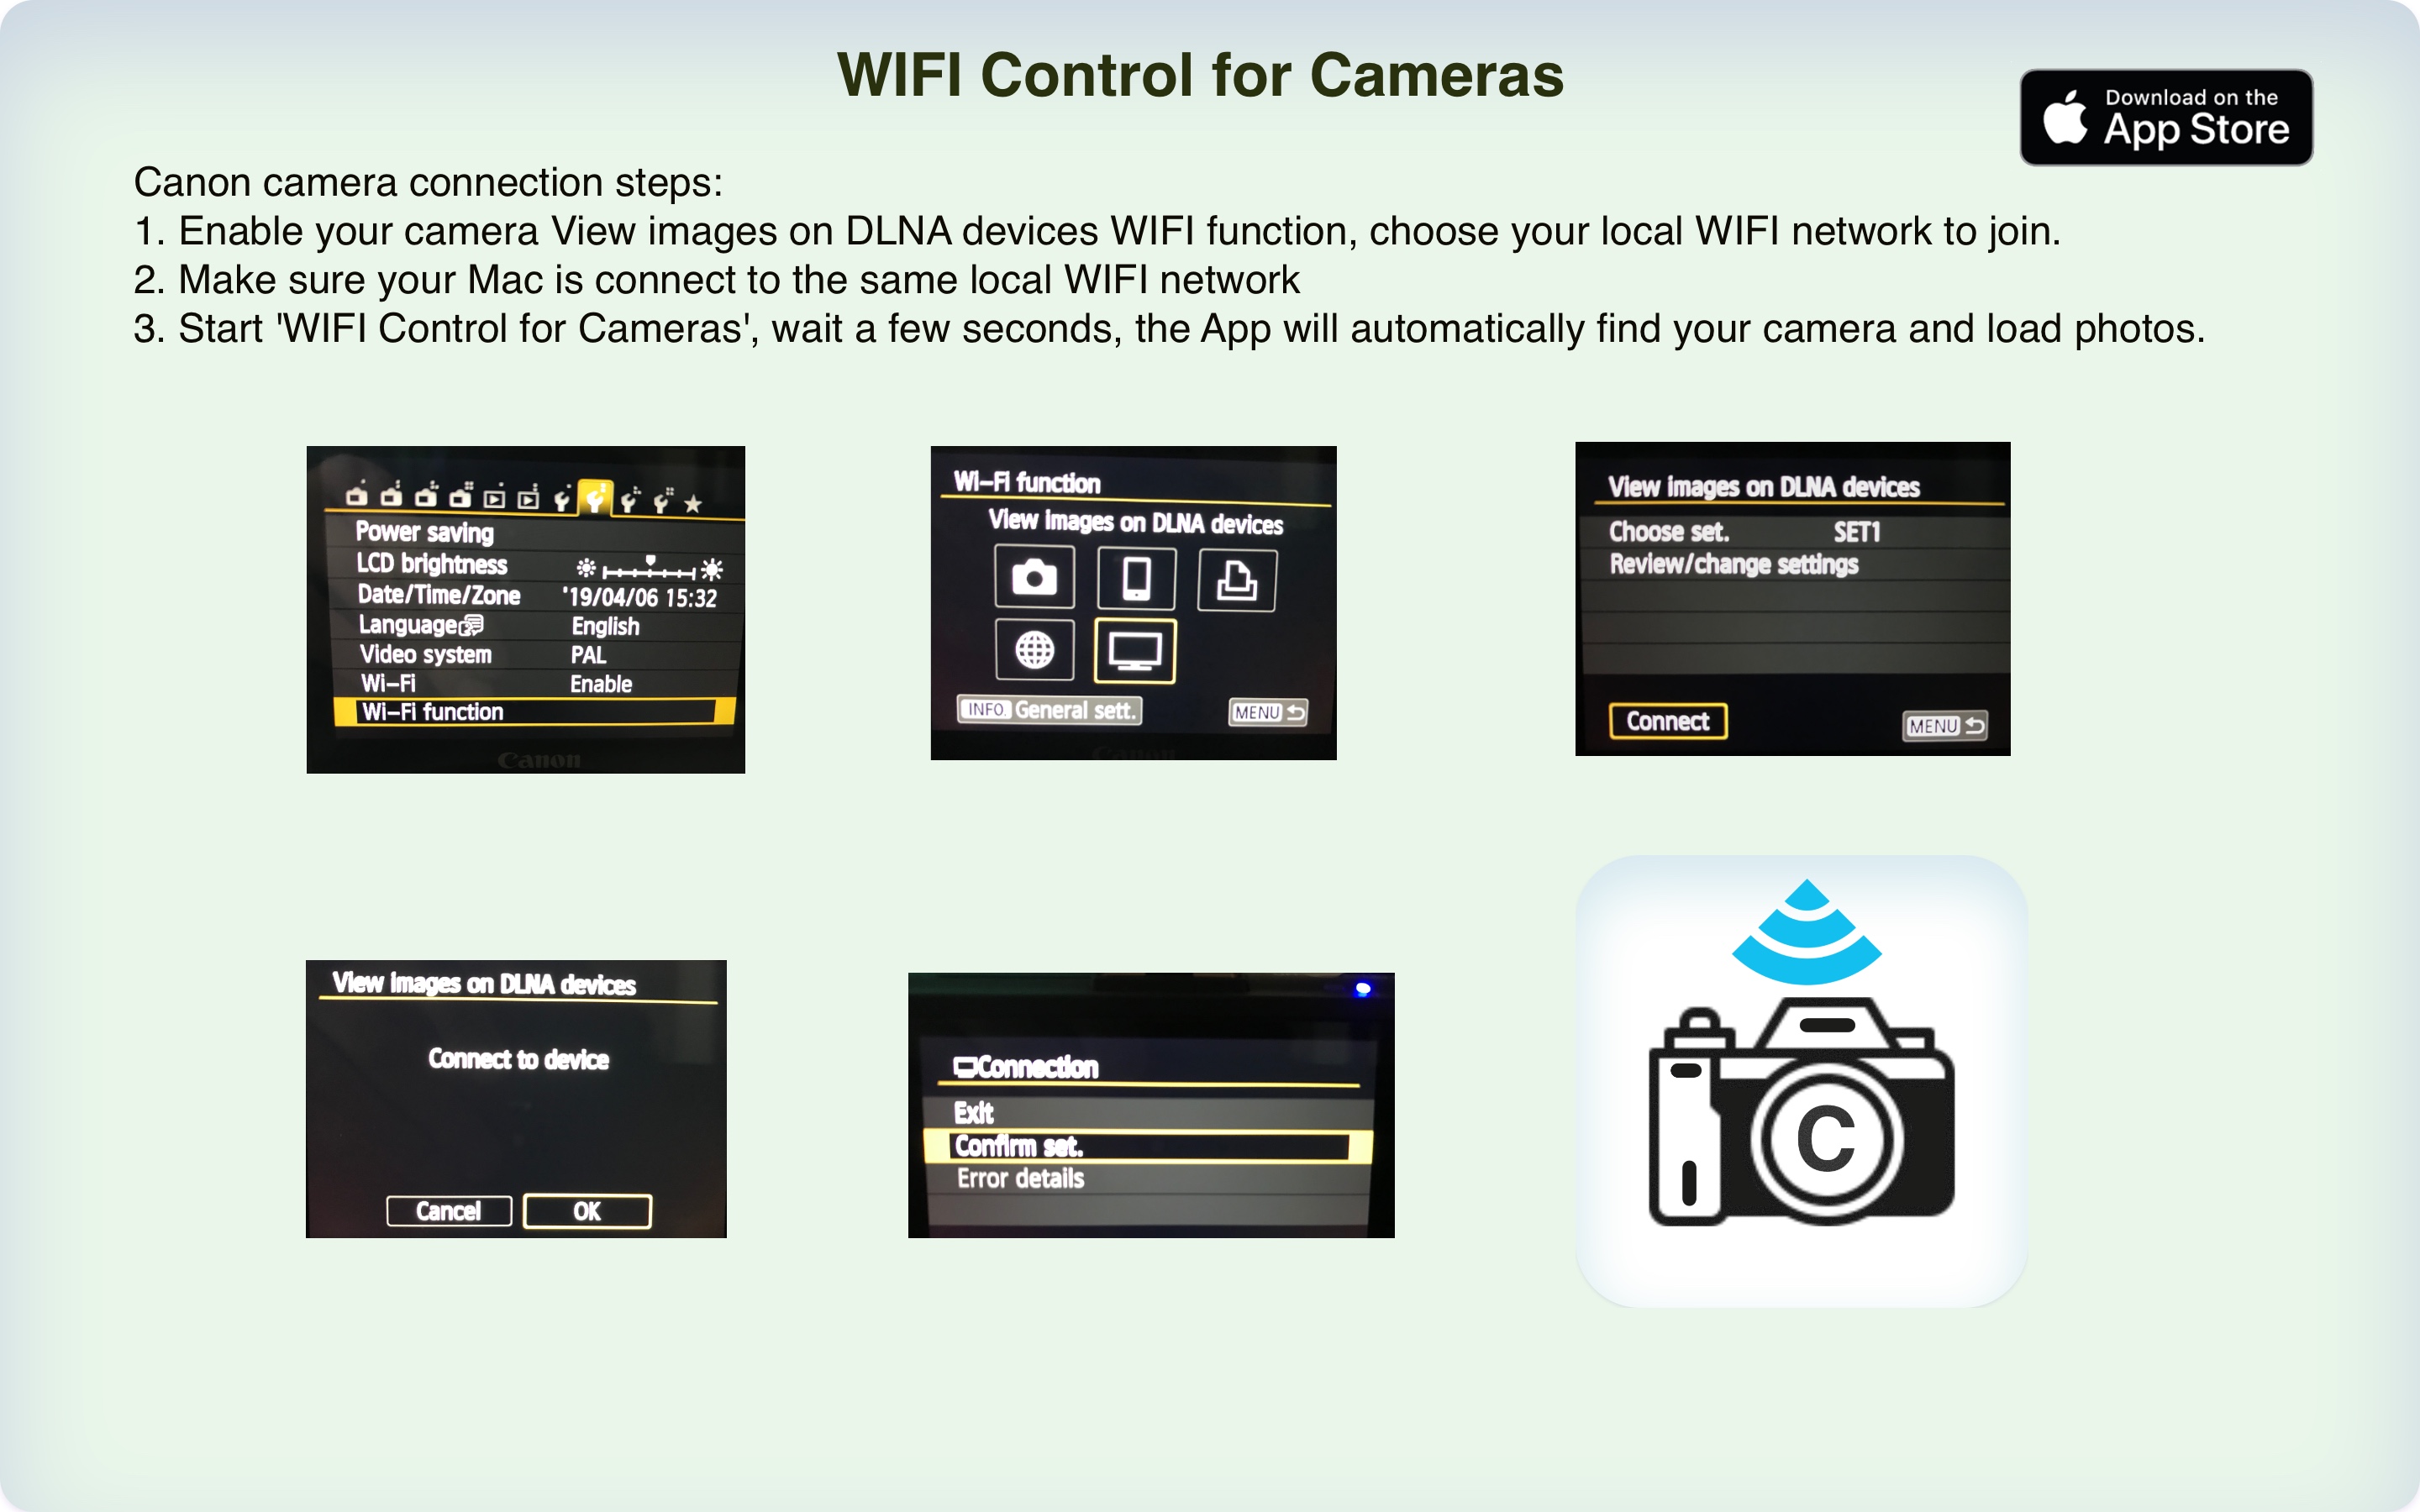
Most WiFi models, please check your camera menu have ‘Wi-Fi function’ -> ‘View images on DLNA devices’, your camera can be used with this App. The App will auto search your camera after your camera is connected to the same network.

Nikon:
All Nikon Camera with WiFi enabled, include D750, D850, D5300, D5500, D5600, Z6, Z7 and other WiFi models.
First enable WiFi on your Nikon Camera, that will setup WiFi SSID and password for you to connect , on Mac connect to that Camera WiFi setup, click the search camera button in the App
* New Bluetooth (SnapBridge) enabled Cameras maybe need setup WiFi through your iOS App.

Sony:
Most WiFi models, if your camera have menu function ‘Send to Smartphone’ -> ‘Select on Smartphone’ to setup WIFI, you can connect to that WIFI, and use this App to view or download media files. The App will auto search your camera after your camera is connected to the same network with Mac.
α7 , α7S II , α7R , α7R II , α7S , α5000 , α5100 , αv6000 , α6300 , α6500 NEX-5R , NEX-5T , NEX-6 , HX60 , HX80 , HX90 , HX400 , WX500 , RX10 II , RX10 III RX100 III , RX100 IV RX100 V

Panasonic Lumix:
On your camera you can setup Wi-Fi -> [Wi-Fi Function] -> [New Connection] -> [Remote Shooting & View], then you can connect to that WiFi with your Mac, the App will automatically find your camera after Camera WiFi is connected or just start the App after WIFI connected.
Lumix GH3, GH4, G6, GM1, GX80, GX85, GX8, FZ1000

Olympus:
You may start WiFi by touch WIFI icon on your camera screen, and connect your Mac to that SSID and password shown on your camera, click the search button after your Mac is connected to your camera WiFi.
Olympus OM-D E-M1,Olympus E-M1 II,Olympus E-M5 II, Olympus E-M10,Olympus E-M10 II,Olympus E-M10 III, PEN-F,E-PL8,E-PL9, Tough TG-5, Tough TG-4. WIFI enabled PEN/Stylus/TOUGH series camera which support WIFI OI Share should work too.

Ricoh & Pentax:
Enable WiFi on your camera, connect you Mac to that WiFi, then click search camera button.
Ricoh GR II, PENTAX K-1,K-1 Mark II, KP, K-70, K-S2, RICOH WG-M2

GoPro HERO 3/4/5/6/7 and SESSION 4/5:
Enable WiFI on GoPro cameras, connect your Mac to that WiFi, then click the search camera button in the App.

RICOH THETA S / SC / V / Z1:
Enable WiFi on Theta 360 camera, connect your Mac to that WiFI, then click the search camera button in the App.

YI / YI Lite / YI 4K / YI 4K+ :
Enable WiFI on Yi action cameras, connect your Mac to that WiFi, then click the search camera button in the App.

Audio Recorder for Windows Phone 7 & 8 FAQ

Audio Recorder
Windows Phone 8:

1. choose the file you want to copy
2. click the ‘Copy to Music Hub’ in menu
3. wait a message box tell you copy complete
4. you can find the file is converted to mp3 in your phone’s Music Hub, then you can sync to your PC or copy that file out in Music folder of you phone.

Windows Phone 7:

Copy files  to PC from WP7 Audio Recorder , following are detail steps:

   1. [PC] Download wp7explorer , install it on your PC , then run it from Windows Start Menu ( the app name is “WP7 Isolated Storage Explorer” )
   2. [PC] Make sure your PC is connected to a network ( LAN or Wireless ) and have an IP address (eg. 192.168.1.222 or any x.x.x.x )
   3. [Phone] Connect your WP7 phone to PC use USB cable , and also need keep the Zune software open on the PC.
   4. [Phone] Start Audio Recorder on your phone , click any file to bring up the menu
   5. [Phone] Click the menu item “Download File”, this will pop up a dialog to inform you enter an IP address , then input the IP address and click ok ( after this there will be another pop up dialog to show help info , just click ok to dismiss it )
   6. [PC] Now after a few seconds , the wp7explorer on your PC should find your phone , and show all the recorded files on your phone, then you can right click the files your want to download and click the “download file” menu.

  For any other issues, please send email to me at xuecsapp@gmail.com .

FAQ:
1. Installing the WP7 Isolated Storage Explorer

  • Download from  wp7explorer or http://wp7explorer.codeplex.com
  • Run the installer
  • Click Yes or Allow if your firewall software prompts for a firewall rule (This will allow the WP7 Isolated Storage Explorer to communicate with remote applications)
  • The WP7 Isolated Storage Explorer can now be started from the Desktop (shortcut), the Programs Menu on Start or in Visual Studio (View->Other Windows->WP7 Isolated Storage Explorer)

2. Find you windows IP address:

  1.    Start > Run > cmd > press Enter
  2.    Type “ipconfig” (no quotes) and press Enter
  3.    Look for “IP Address” or “IPv4 Address”, and then use the IP address to the right.

3. Install .Net Framework 4.0
http://www.microsoft.com/download/en/details.aspx?id=17718  or
http://www.microsoft.com/download/en/details.aspx?id=17851

4. Got Connection Failed Error
Please check the IP address of you PC is correct, and not blocked by you PC firewall.

5. ‘Background worker is already running’
Please restart the App to retry ( sometimes need restart the phone ).

For any other issues, please feel free to send  email: xuecsapp@gmail.com